
Now that I had organized my shop space and also have a workbench to work, is the turn to build my miter saw station. This station was a huge success, since until today is the place where a lot of my actual projects begins.

miter saw station
Construction materials:
First step was create the legs for each section using pocket holes. I repeat the same until I get all the legs ready.


Then connect the legs to get a basic structure.

miter saw station legs connected
After that, was very simple to put all together.

miter saw station basic frame
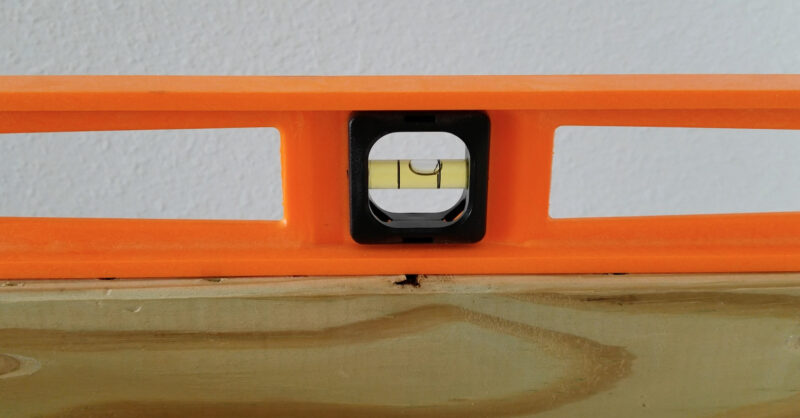
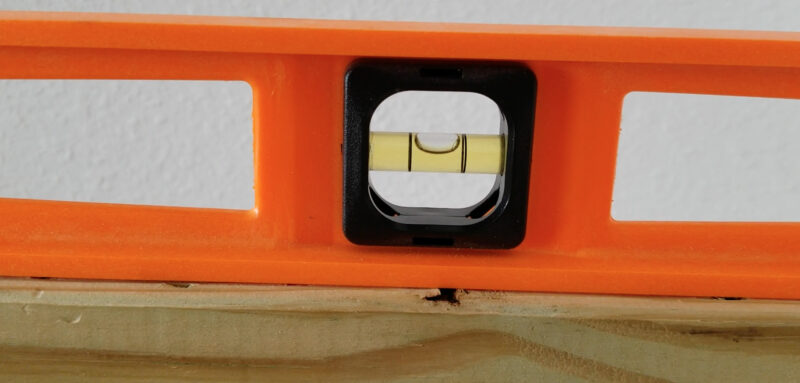
The shop floor was no level at all, so I use some adjustable leveling feet.

miter-saw-station-legs-levels
After cut the plywood for the top, was time to use the router to make space for the tracks channels.

miter saw station top track

miter saw station top track
I added a shellac cover on the top to add a little bit of protection.

miter saw station shellac protection

miter saw station top track left side
Toke me a while to get the right position to keep at the same level the top of the station with the surface of the saw. Finally, here is an image of the final station. You also can see the stop blocks on each side.

miter saw station angle view
UPDATE (01/14/21):
I added a box to control a little bit the dust and also a battery/charging station.

miter saw station battery charging


Leave A Comment