Time to have a flat surface that help holding and put together materials. This is the time for the workbench.
Construction materials:
I start cutting all the 2×4 for the legs, and rails.
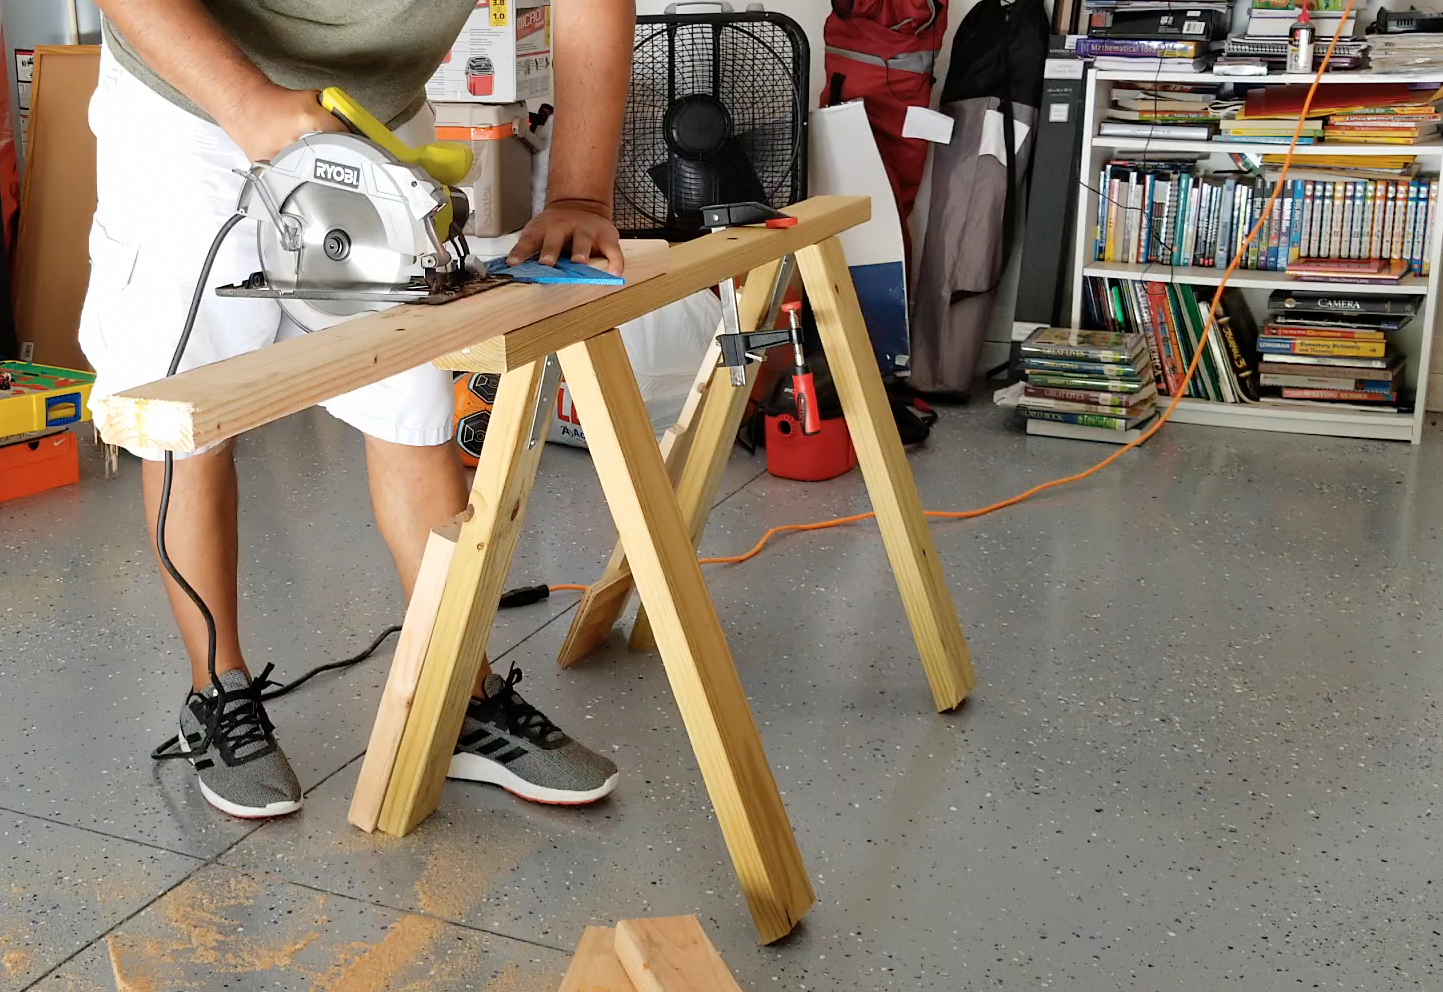
workbench cuts 2×4
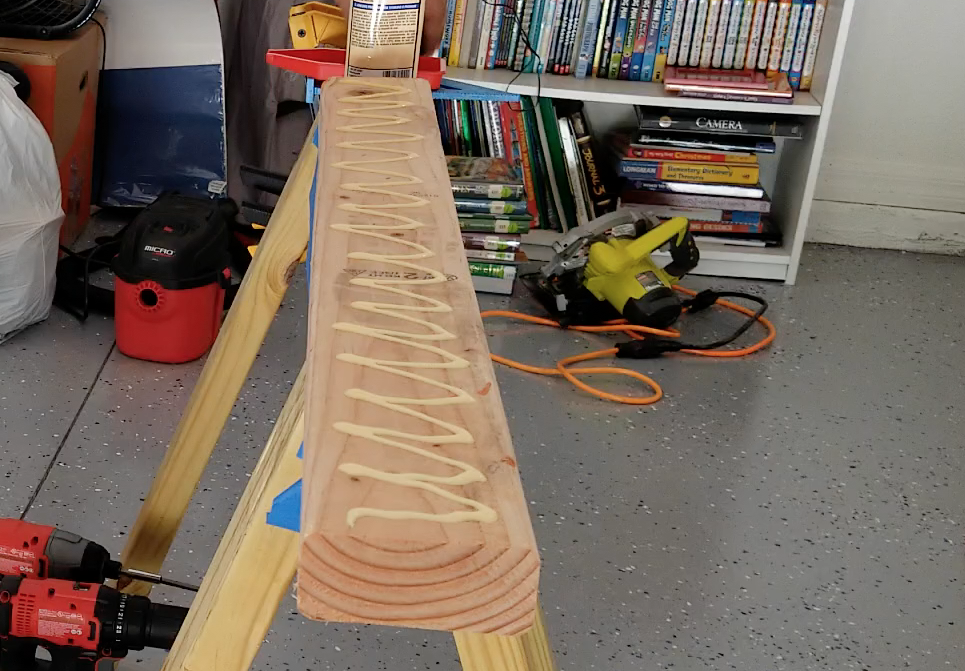
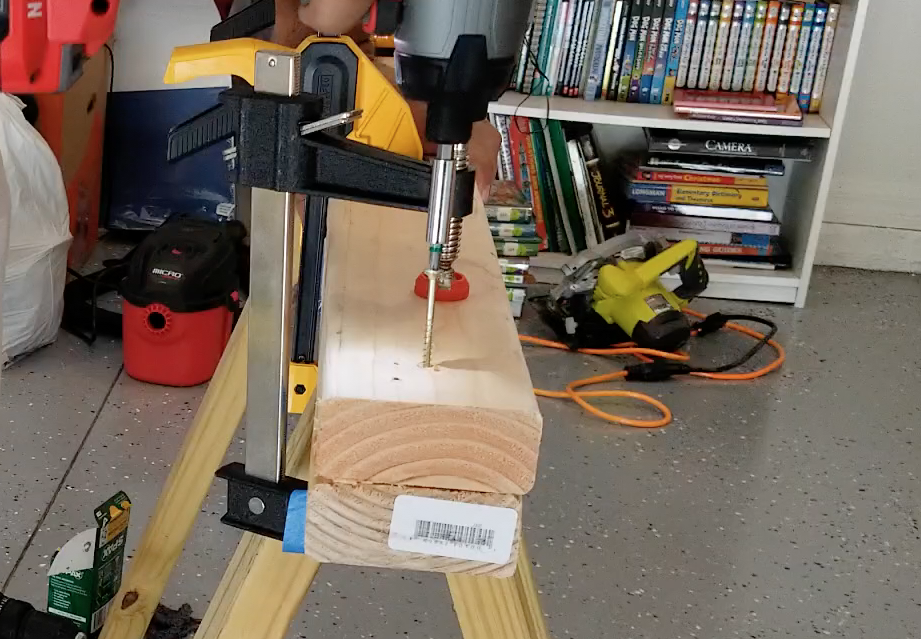
Then, glue together each legs.
Added the pocket holes on each rails.
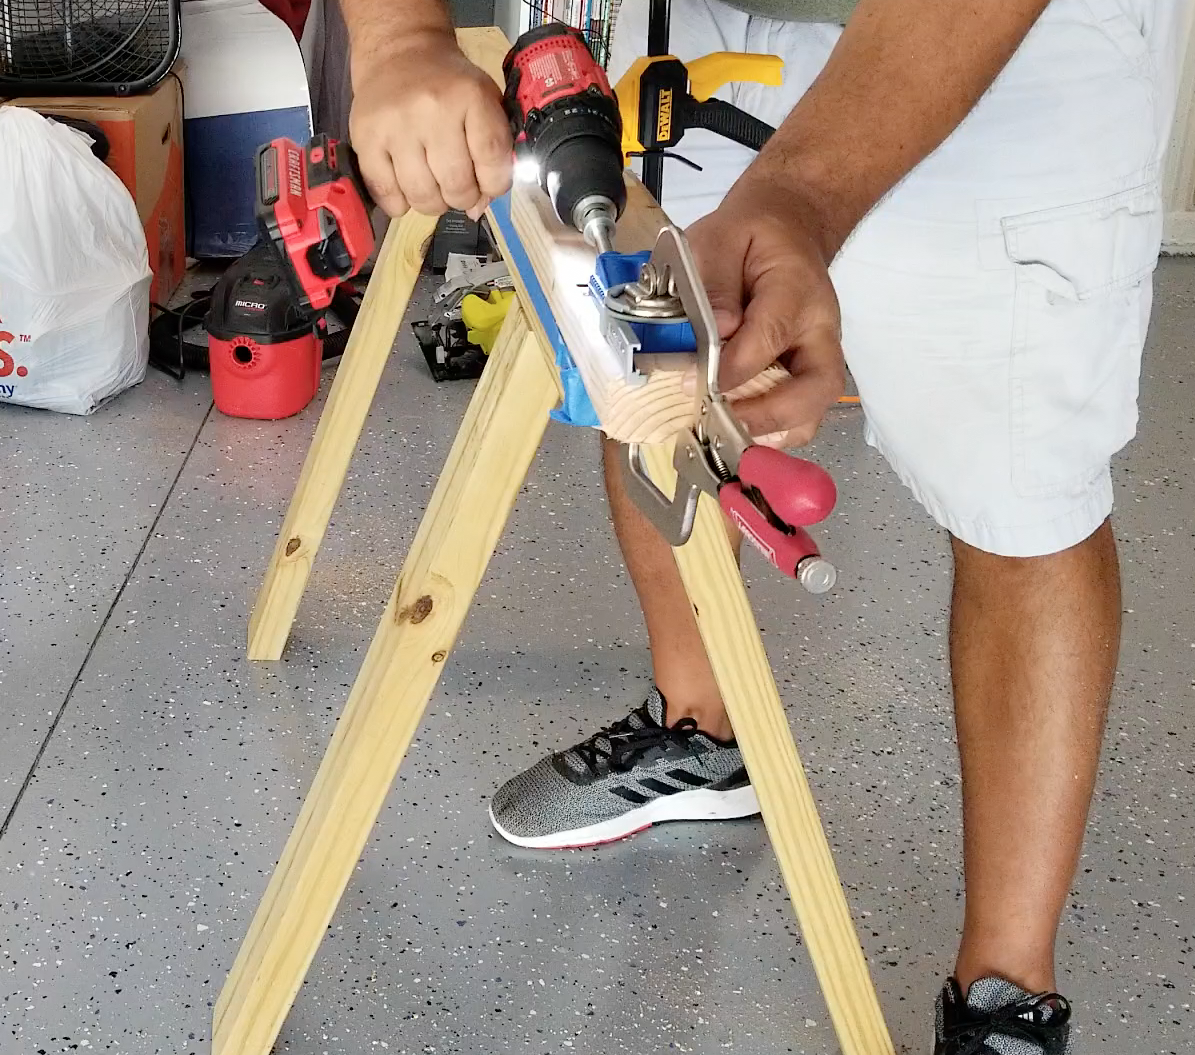
workbench pocket holes
Connect legs with top/bottom rails. I use some blocks to help me to set/hold in place each piece.
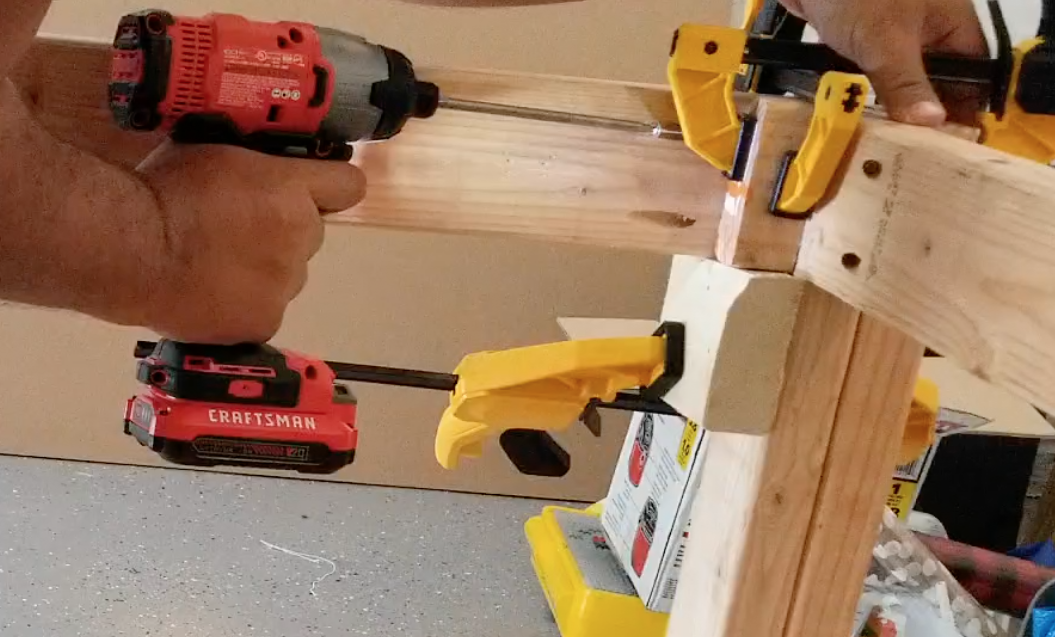
workbench connecting legs top riel

workbench connecting legs top riel 2
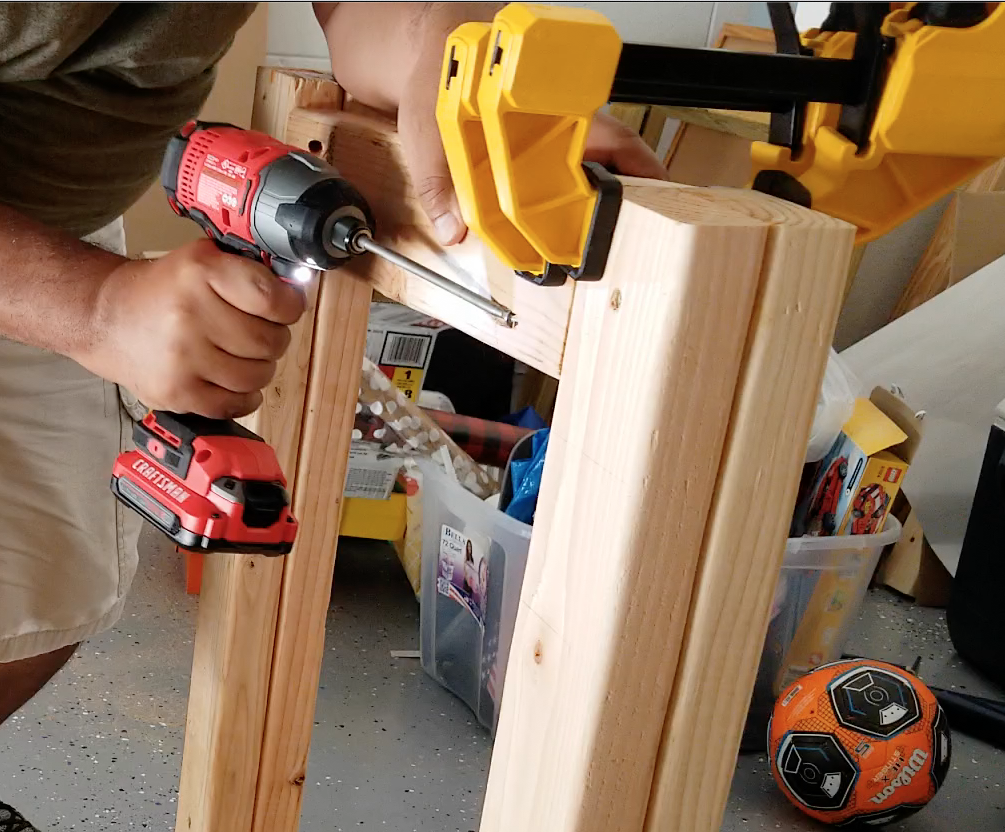
workbench connecting legs riel bottom
Basic structure completed.
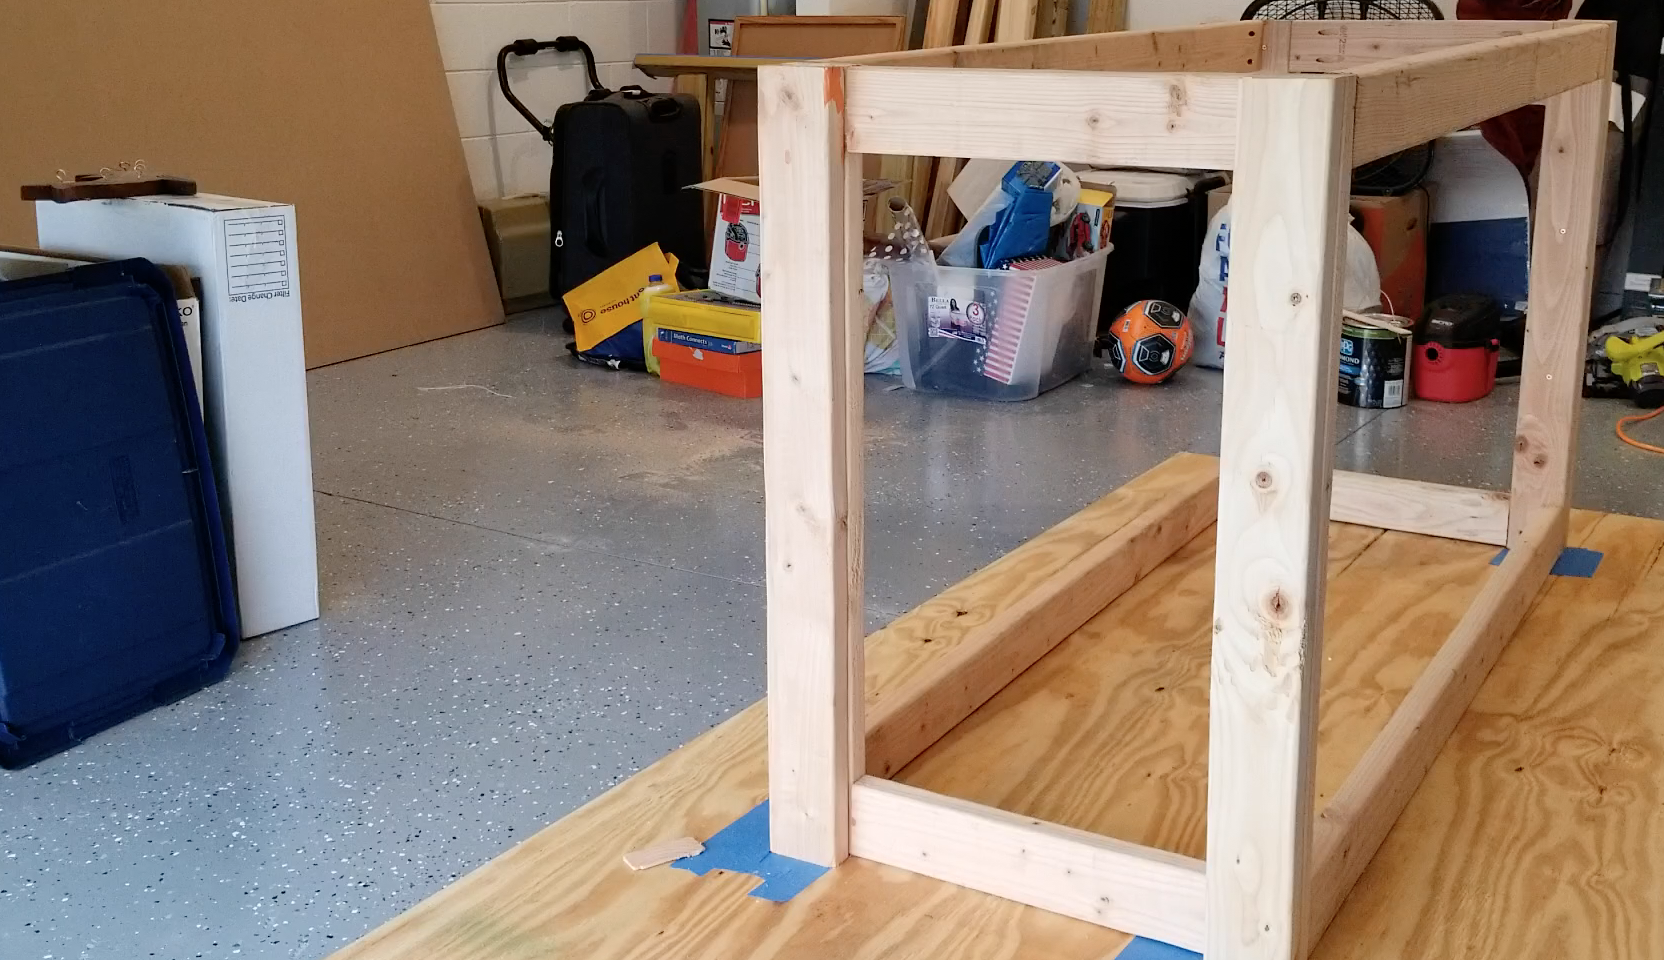
workbench basic structure
I turn over it and added the wheels. Honestly, I can’t remember why I did that, because the top and bottom are exactly the same, haha.
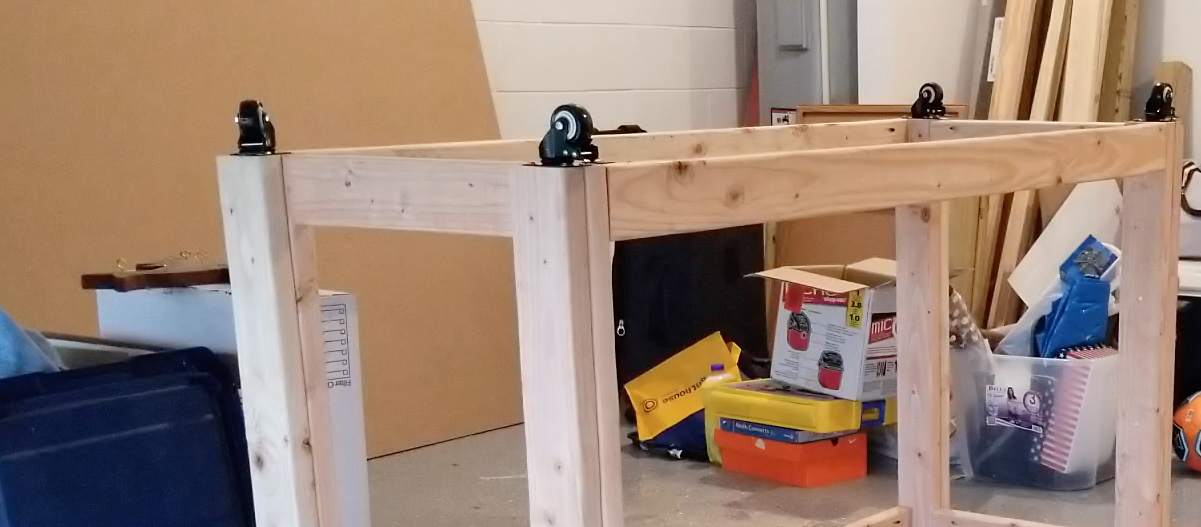
workbench wheels
Added some diagonal support rails and painting it.
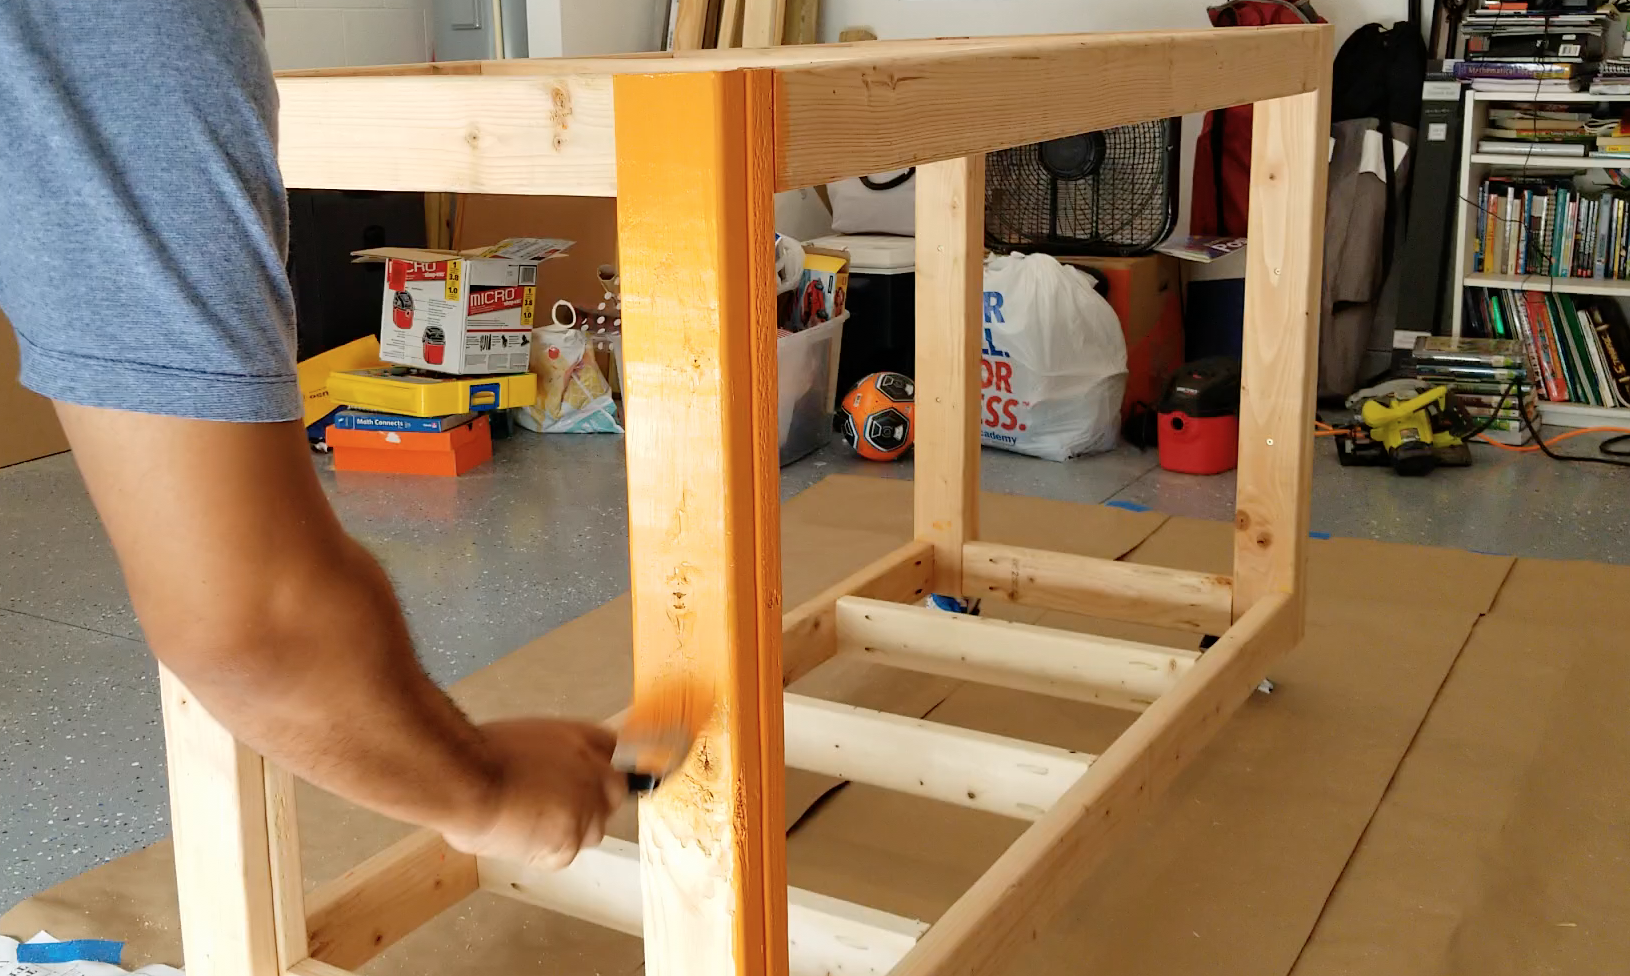
workbench support and paint
Now is time to cut the panels for the top/bottom surfaces . You can see I keep using the same track saw I used on my Garage Shelves.
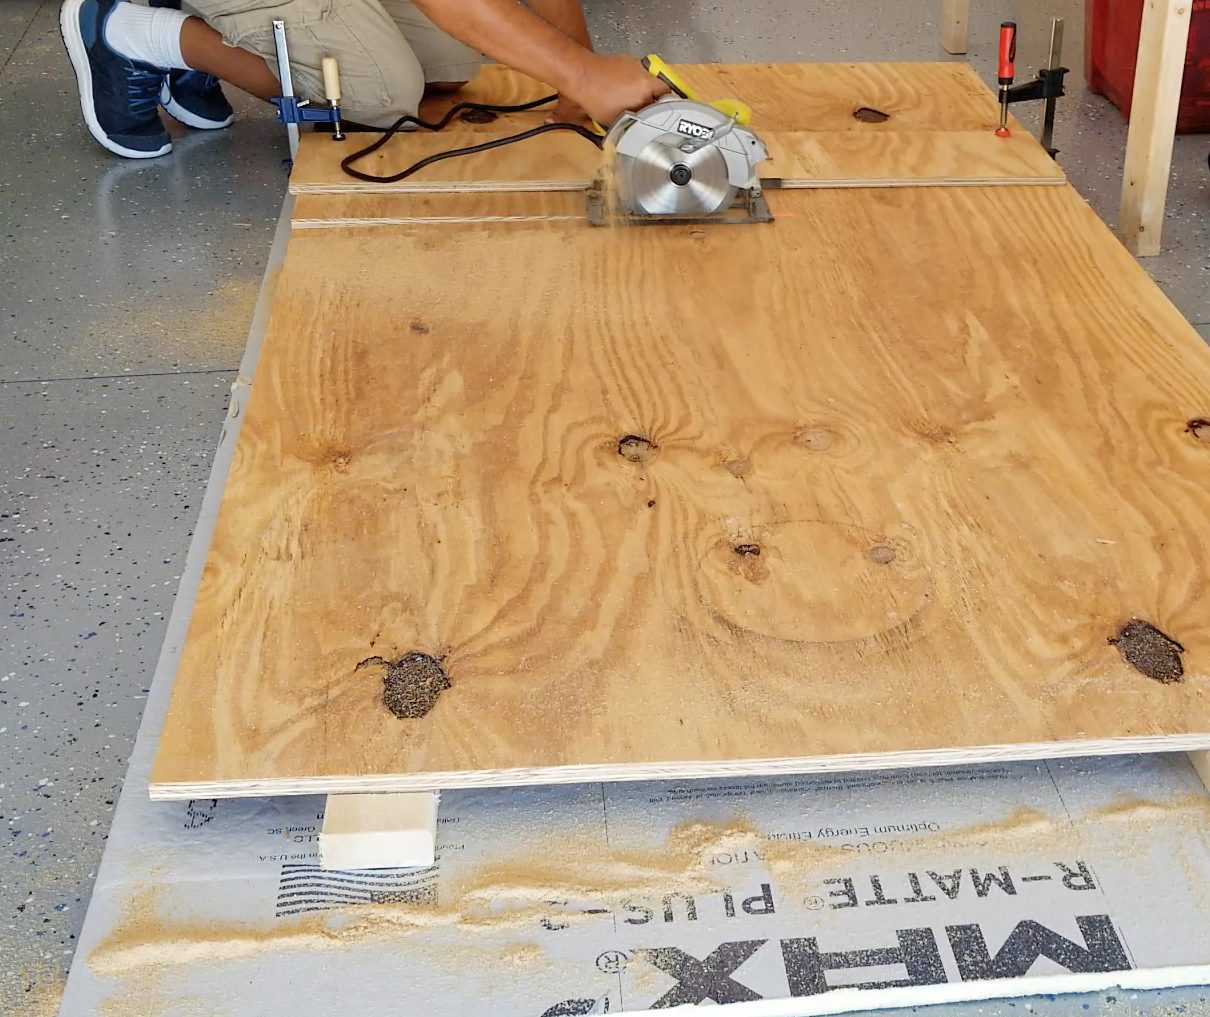
garage shelves top panels cuts
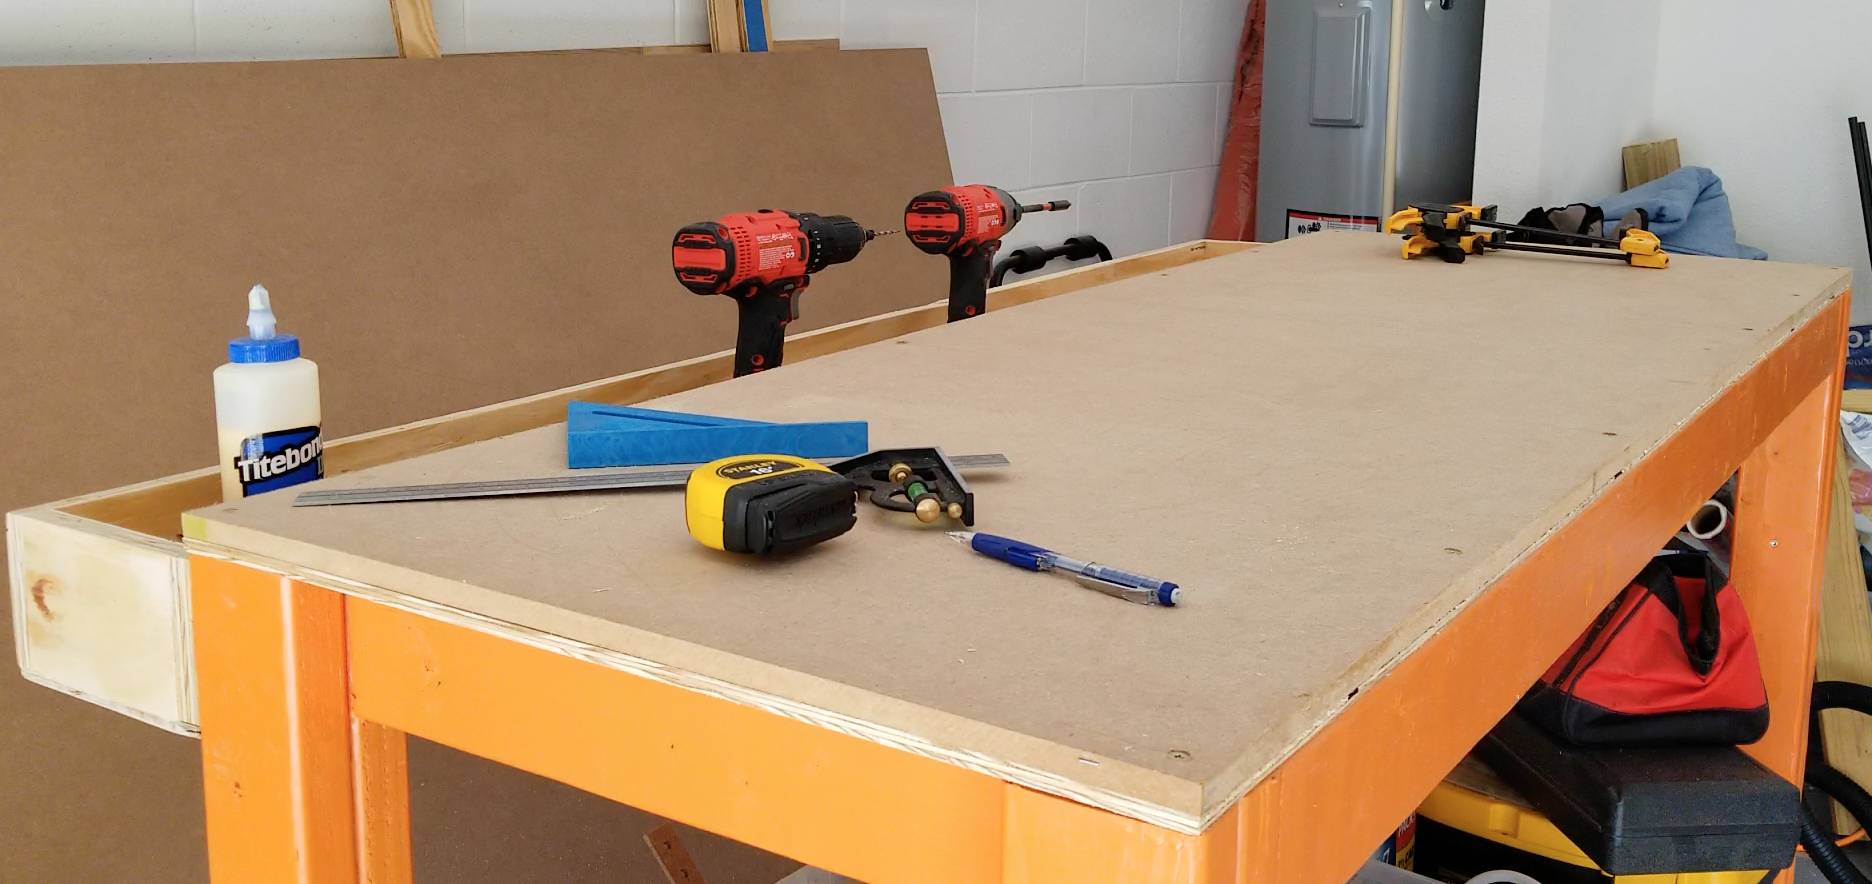
On the top I put a 1/3″ plywood as a base and a 1/2″ mdf as a sacrificial surface.

workbench top sacrificial
On the bottom I put a 1/2″ plywood as a base.
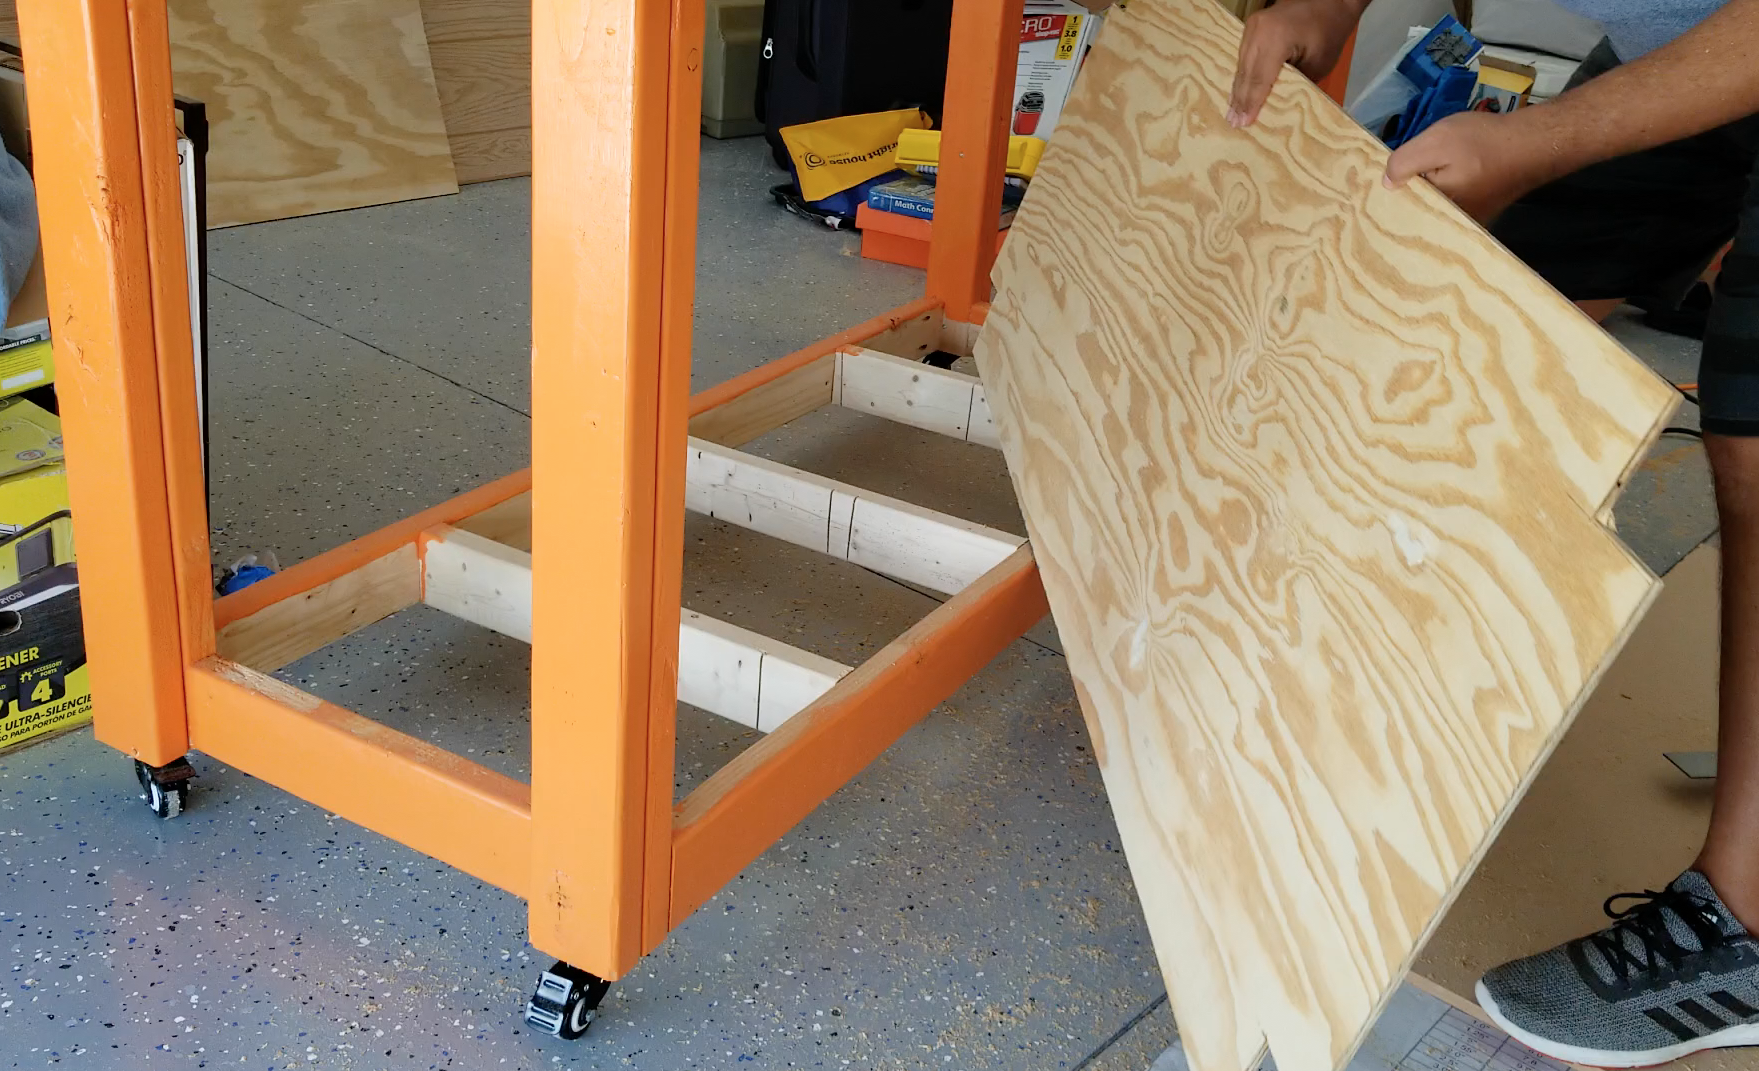
workbench bottom base
At the end, I decided to add some kind of shelf in the side of the workbench.


Final result:
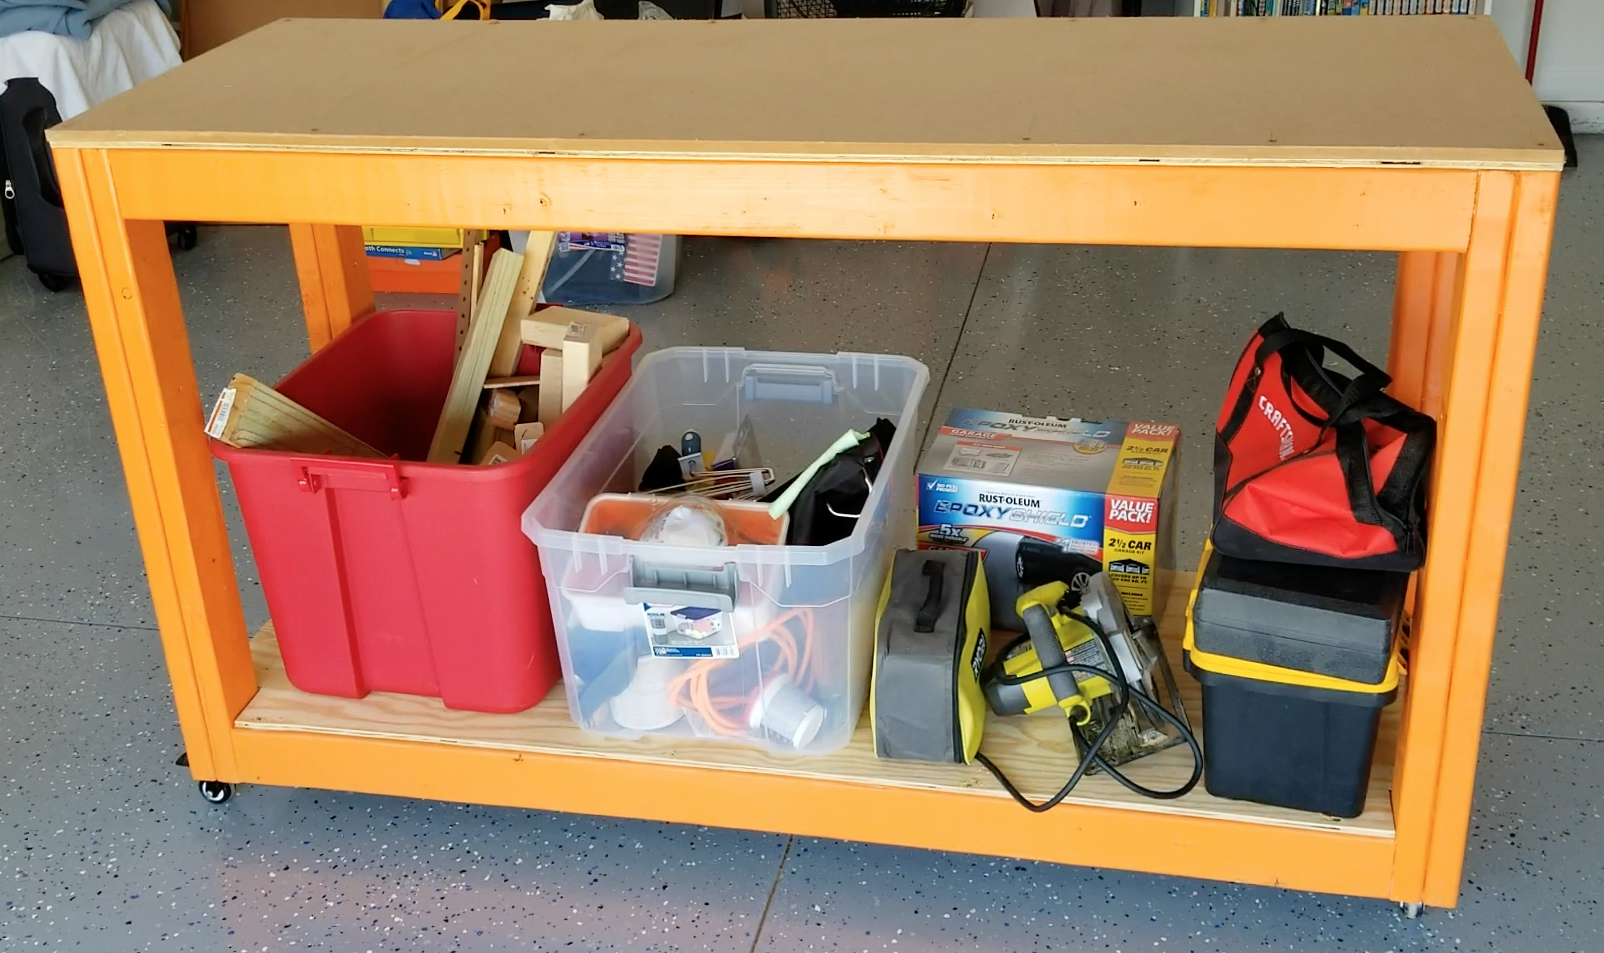
workbench final view 1


Leave A Comment